How to Spatchcock
There’s nothing quite as mouth-watering as a roast chicken, yet not many of us have hours to prep, roast, and baste a chicken.
Spatchcocking – also referred to as butterflying – is a chef’s technique where you remove the backbone from a whole chicken and break the breastbone so that the chicken lies completely flat. If it sounds like it might require brute strength, don’t worry. All you need is a sharp kitchen knife or poultry shears (heavy-duty scissors) and a little know-how.
But first, the advantages of this technique (besides impressing people with your culinary knowledge!).
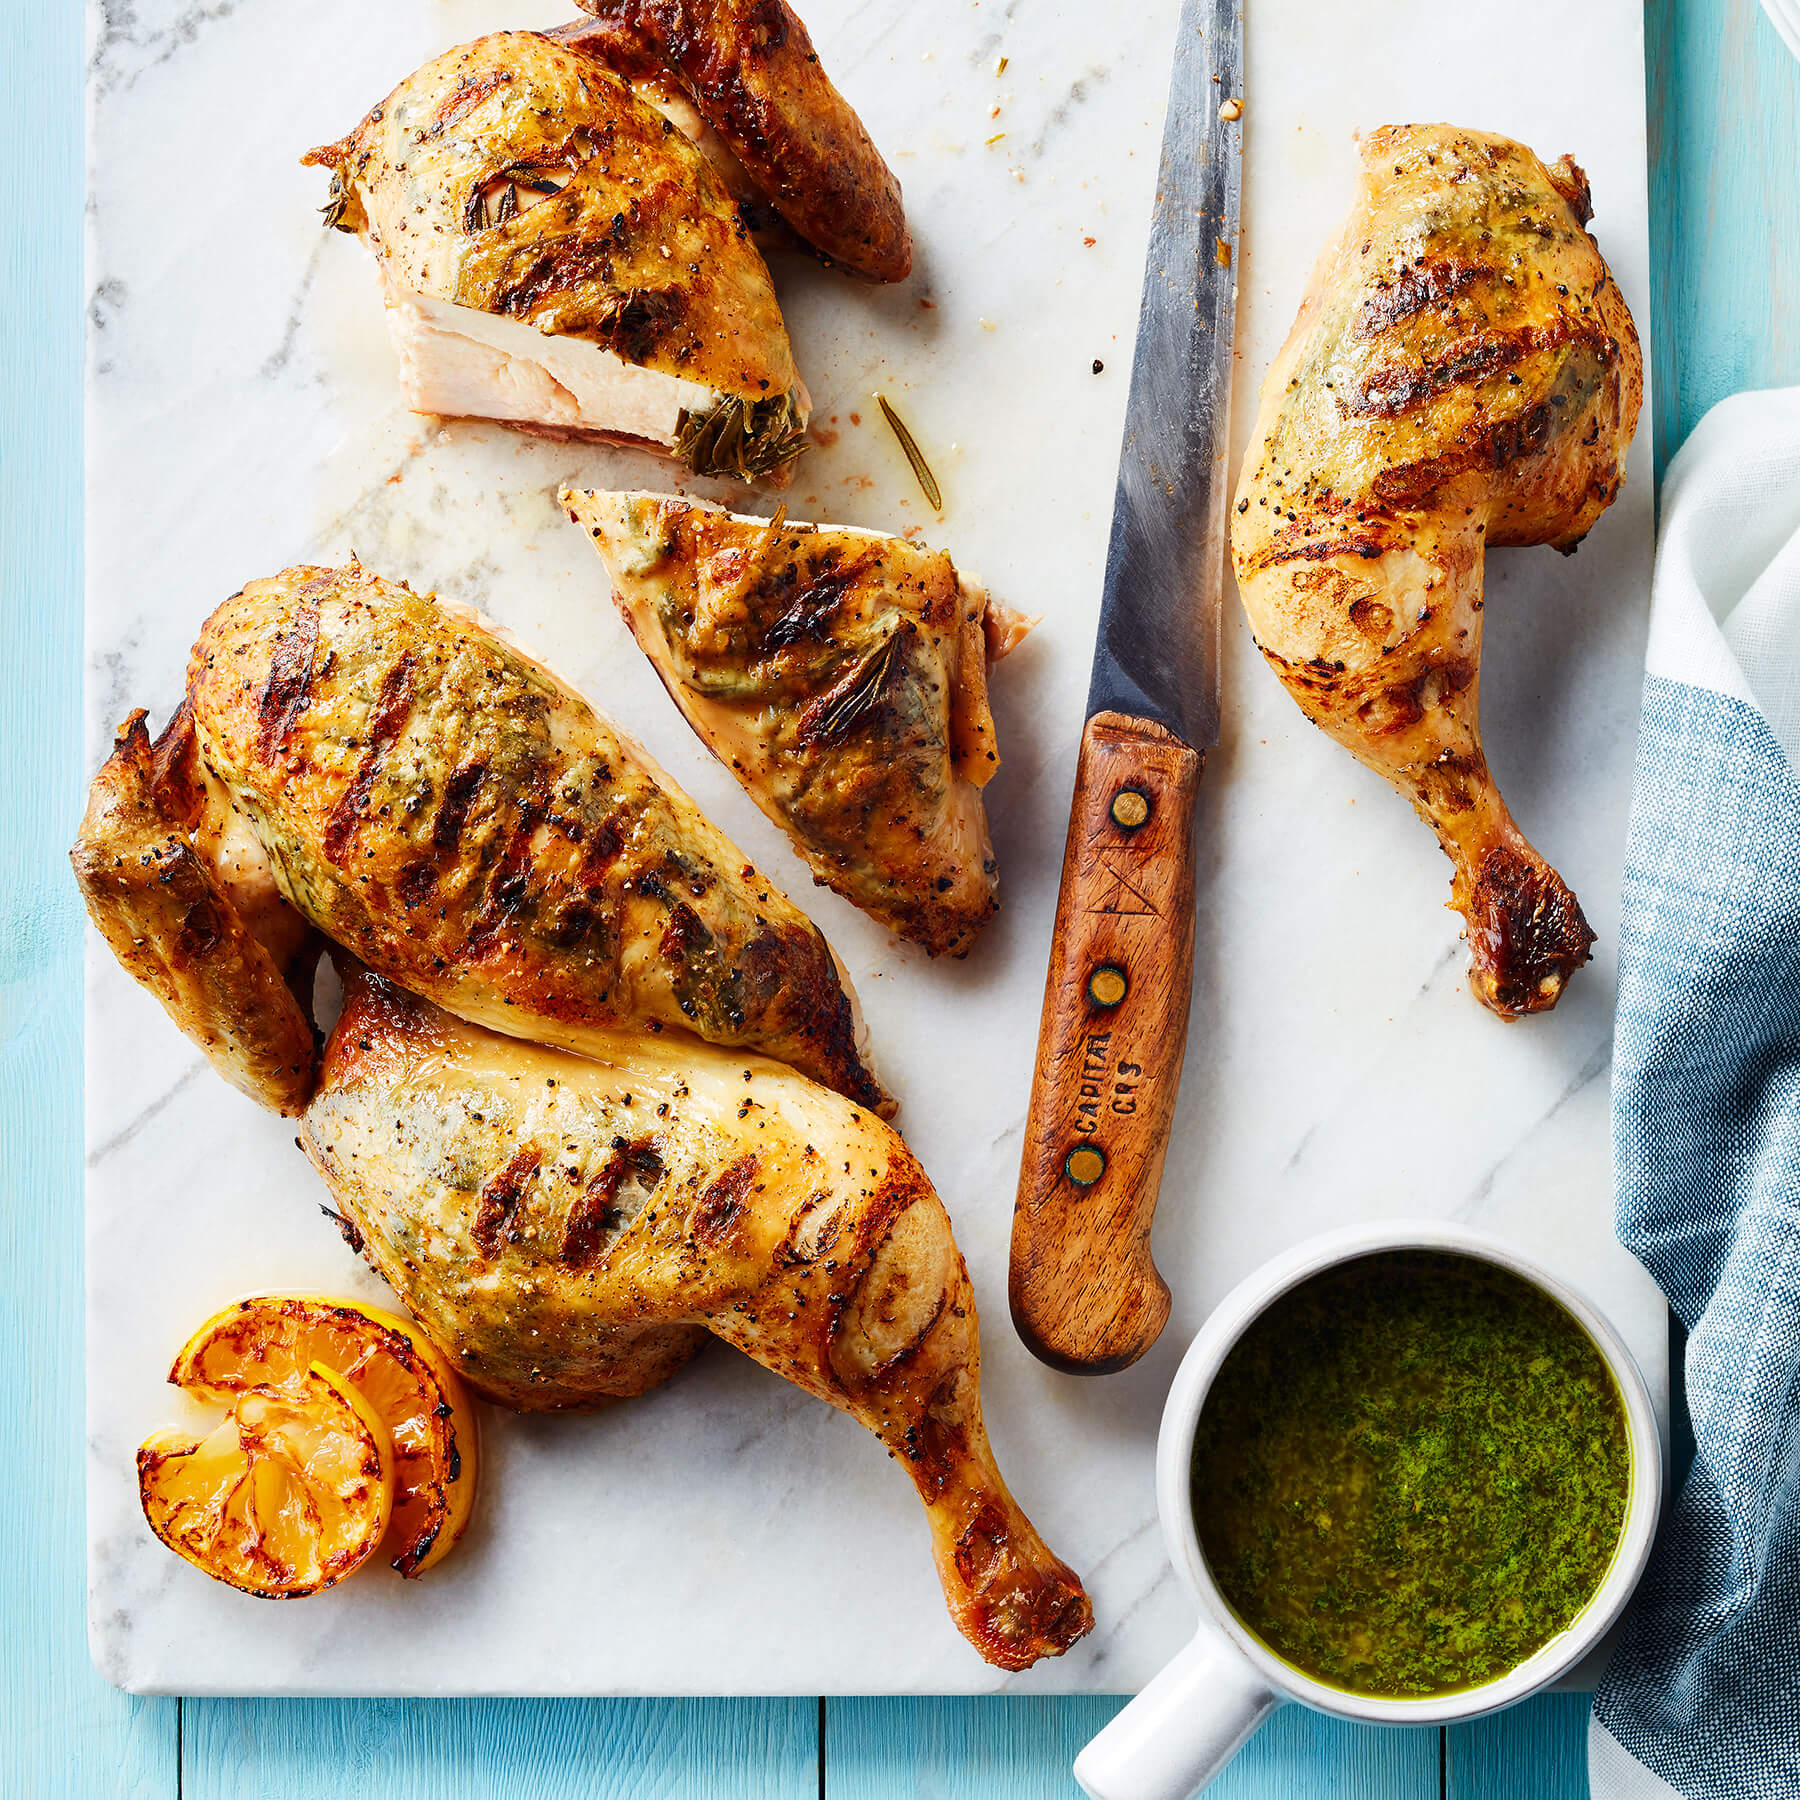
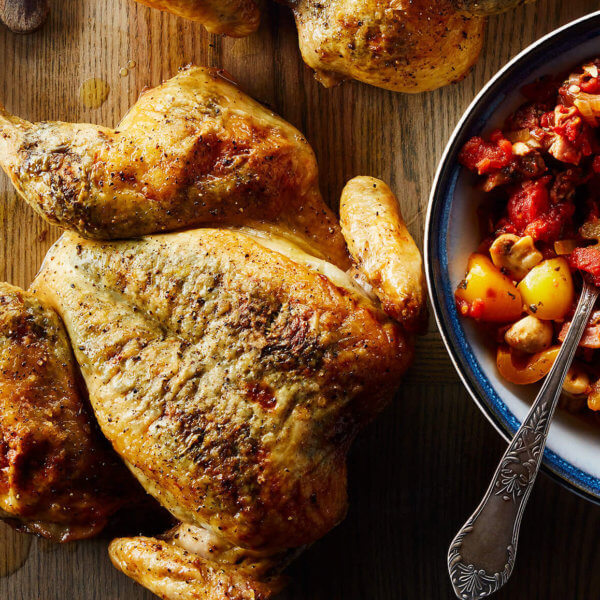
Not only does spatchcocking or butterflying greatly reduce cooking time – it’s roughly 25% faster – but it ensures the entire chicken is evenly cooked. This is essential, since different parts of a whole chicken will cook at different rates. Spatchcocking prevents the dark meat closer to the bone from being undercooked and the white meat closer to the skin from being overcooked. The result is an evenly cooked bird, that has crispy skin, and juicy, tender chicken.
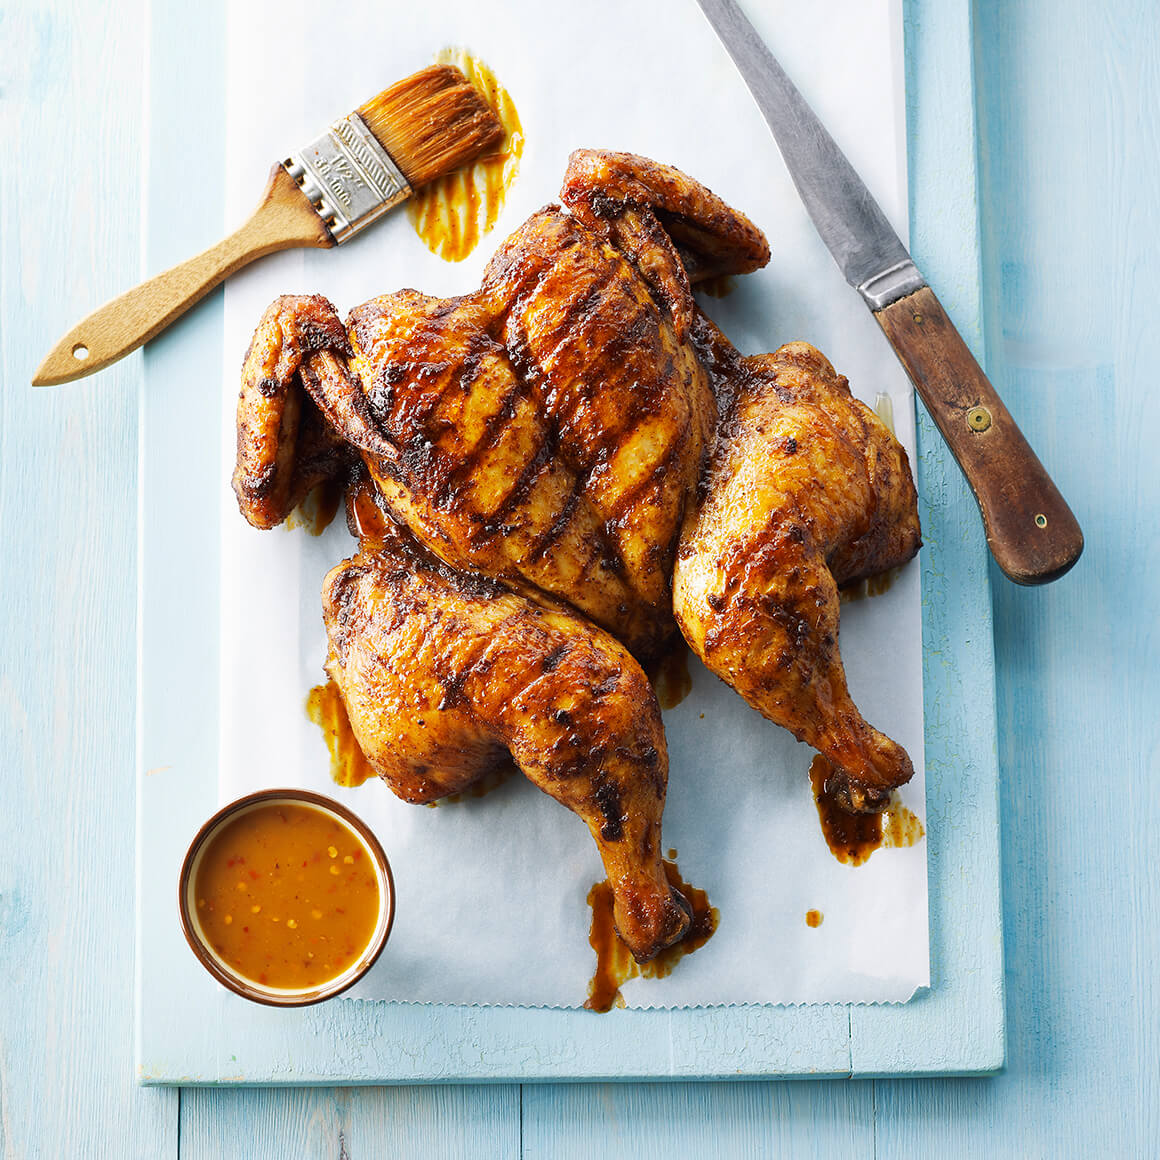
And there’s no better method for roasting a whole chicken on the grill. Spatchcocking allows the meat to lie close to the grill so the entire bird cooks at the same rate.
Here’s a quick step-by-step instruction on how to do it.
- Clean the chicken. Pat it dry with paper towels. Remove any giblets – the liver, heart, gizzard, and/or neck of a chicken – and any water from inside the chicken. Set the chicken breast side down on a dedicated meat cutting board. Don’t throw out the extras — those will make great stuffing, soup, or broth later. Simply pat those dry and put into a plastic bag or container, label it, and add it to your freezer.
- Locate the spine or backbone. Take your finger and run it along the middle of your chicken’s back. This will give you an idea of where the bone is and where, on either sides of the bone, you’ll be making your cuts.
- Remove the spine or backbone. If you’re using a knife: insert the tip to one side of the backbone and press down firmly, bringing the rest of the knife down. You can press your palm against the back of the knife to apply more pressure. You might hear some cracking noises! Repeat this on the other side of the spine/backbone.
If you’re using kitchen or poultry shears: starting from the tail end, cut all along one side of the spine or backbone. You’ll be cutting into the softer outer side of the ribcage, not the backbone itself. Now, do the same on the other side of the bone.
Once both sides have been cut all the way through, remove the backbone and save this for soups or broth in your handy freezer stock bag.
- Break the breastbone. Here’s where you get to work out some of your frustrations! Flip the chicken over so that the breast side is facing up and the inside of the chicken faces the board. Firmly press down on the chicken’s breastbone with the palm of your hands until it breaks down the middle.
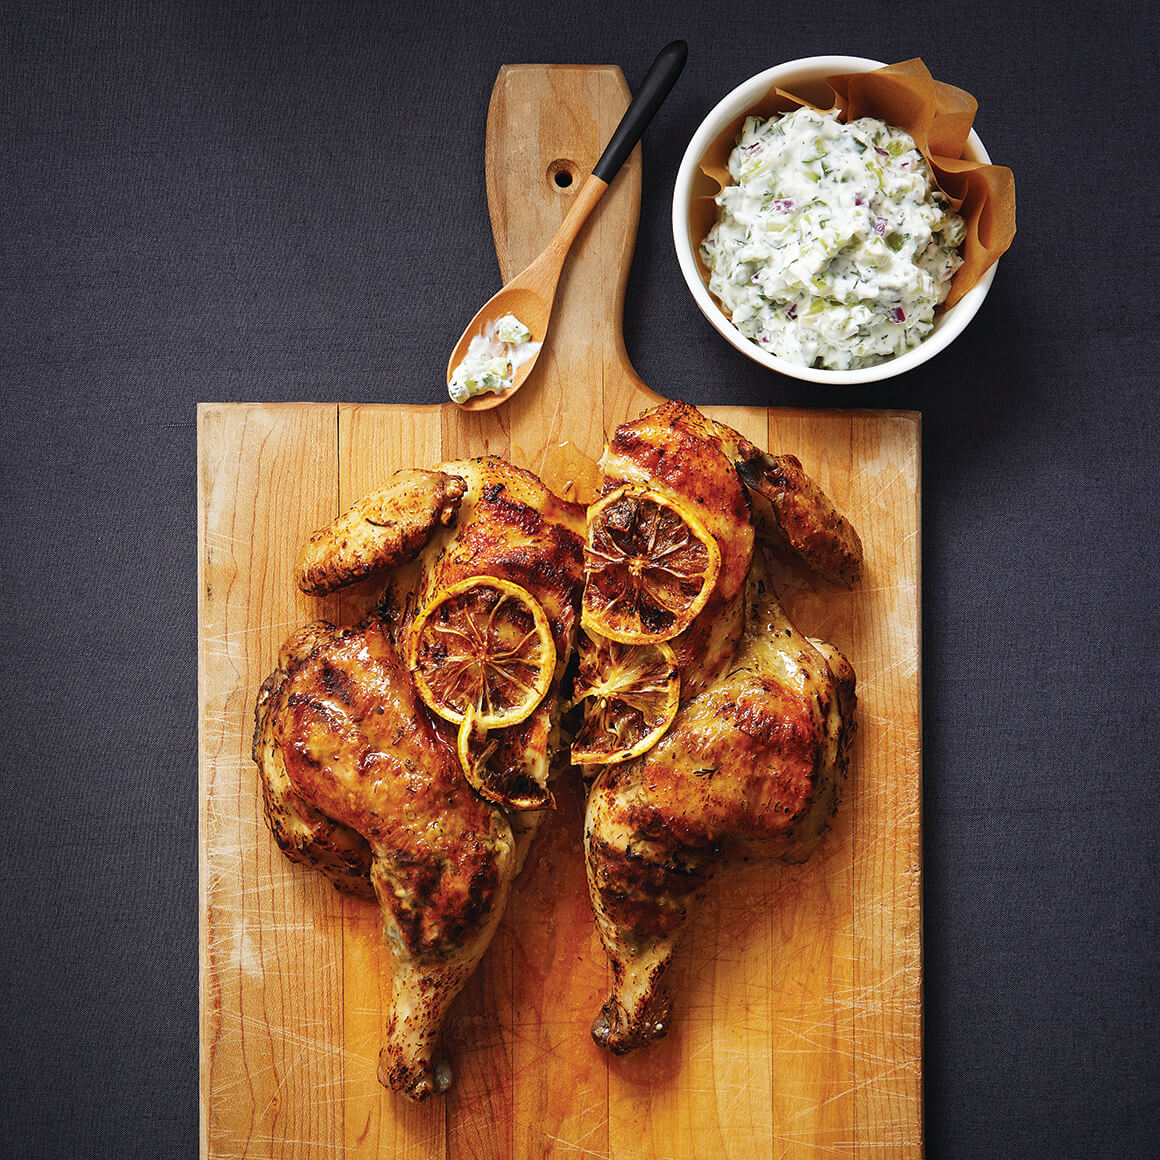
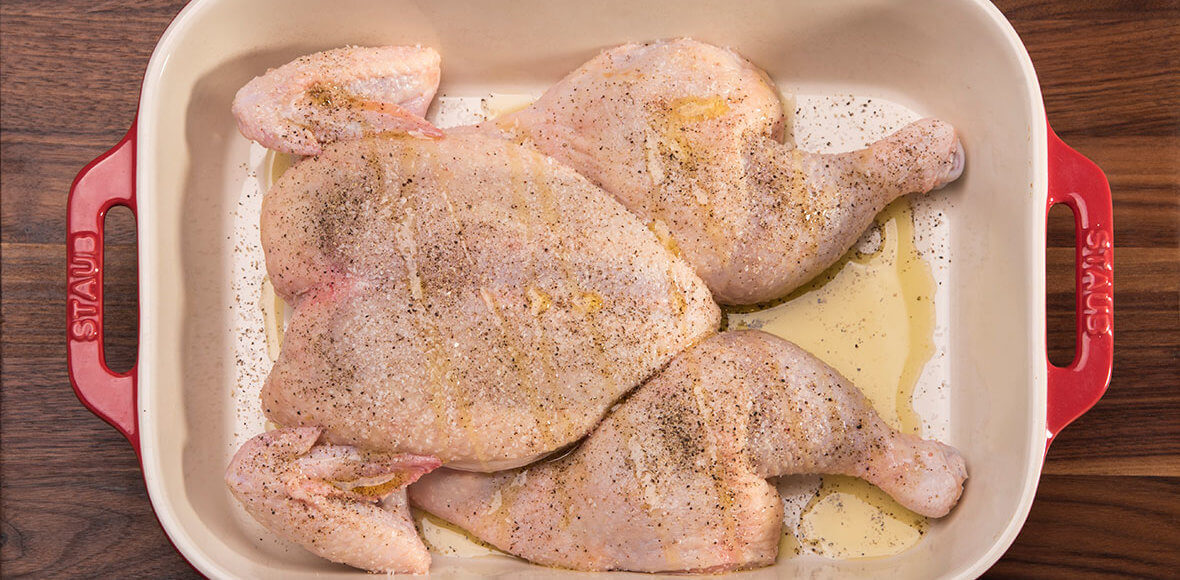
- Flatten the bird. Having broken the breastbone, the bird should already be lying flat, but if not, using your hands, press more firmly on the bird so that it lies flat. You can now remove the wingtips, if desired, since they tend to burn during cooking. (To avoid having to cut the wingtips, simply tuck the wings underneath the breasts or cover with aluminium foil while cooking.)
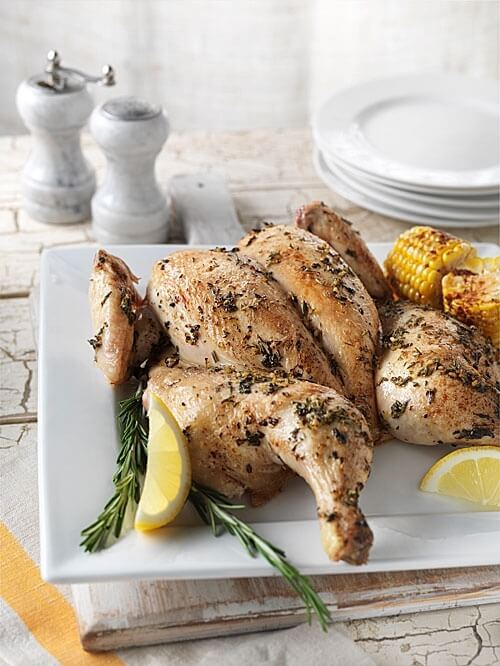
First, find the ligament in the wing. The wing is made up of 3 parts – the upper wing (closest to the body), the lower wing (the middle portion) and the wingtip (the outermost part). The L-shaped part between the wingtip and the lower wing is where you’ll want to cut. Place the heel of the knife (the part closest to the handle) between these two bones and, pressing down firmly, sever the ligament. Do this on the other wing. Again, save those wingtips for soup-making. - Cook or grill. Rub the chicken with oil or butter and season the bird. Place the bird into your oven and relax — you earned it. Or, if grilling, place the bird breast side up on the grill and close the lid. For both methods, cooking time will depend on the size of the bird.
Tip: A fish grilling basket (make sure it’s clean!) is perfect for grilling butterflied chicken on the BBQ, since the steel basket holding the chicken has a handle that makes turning the bird over easy.