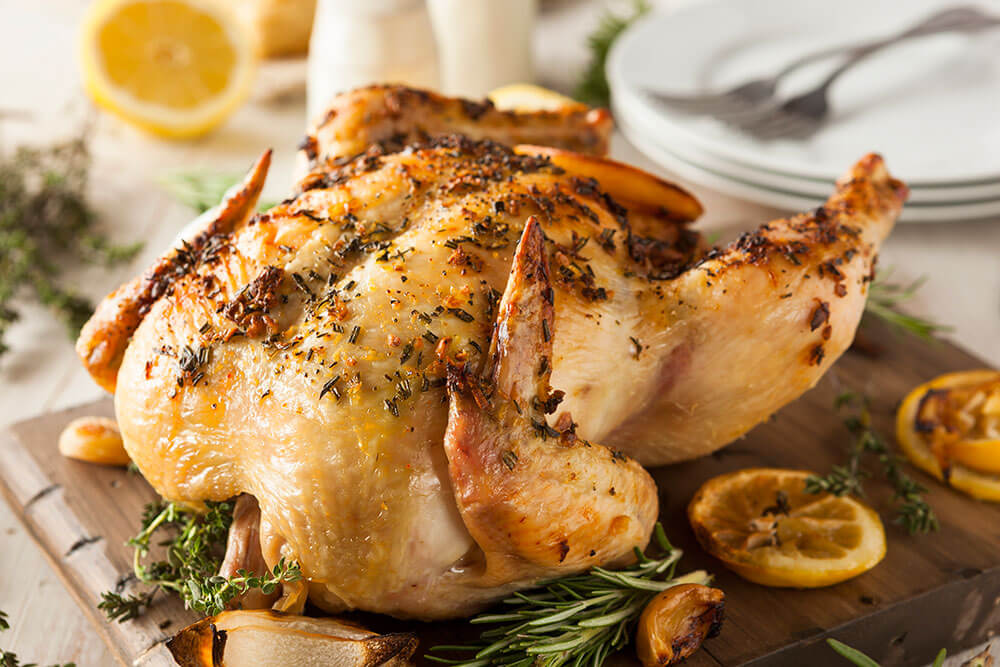
Roast Chicken
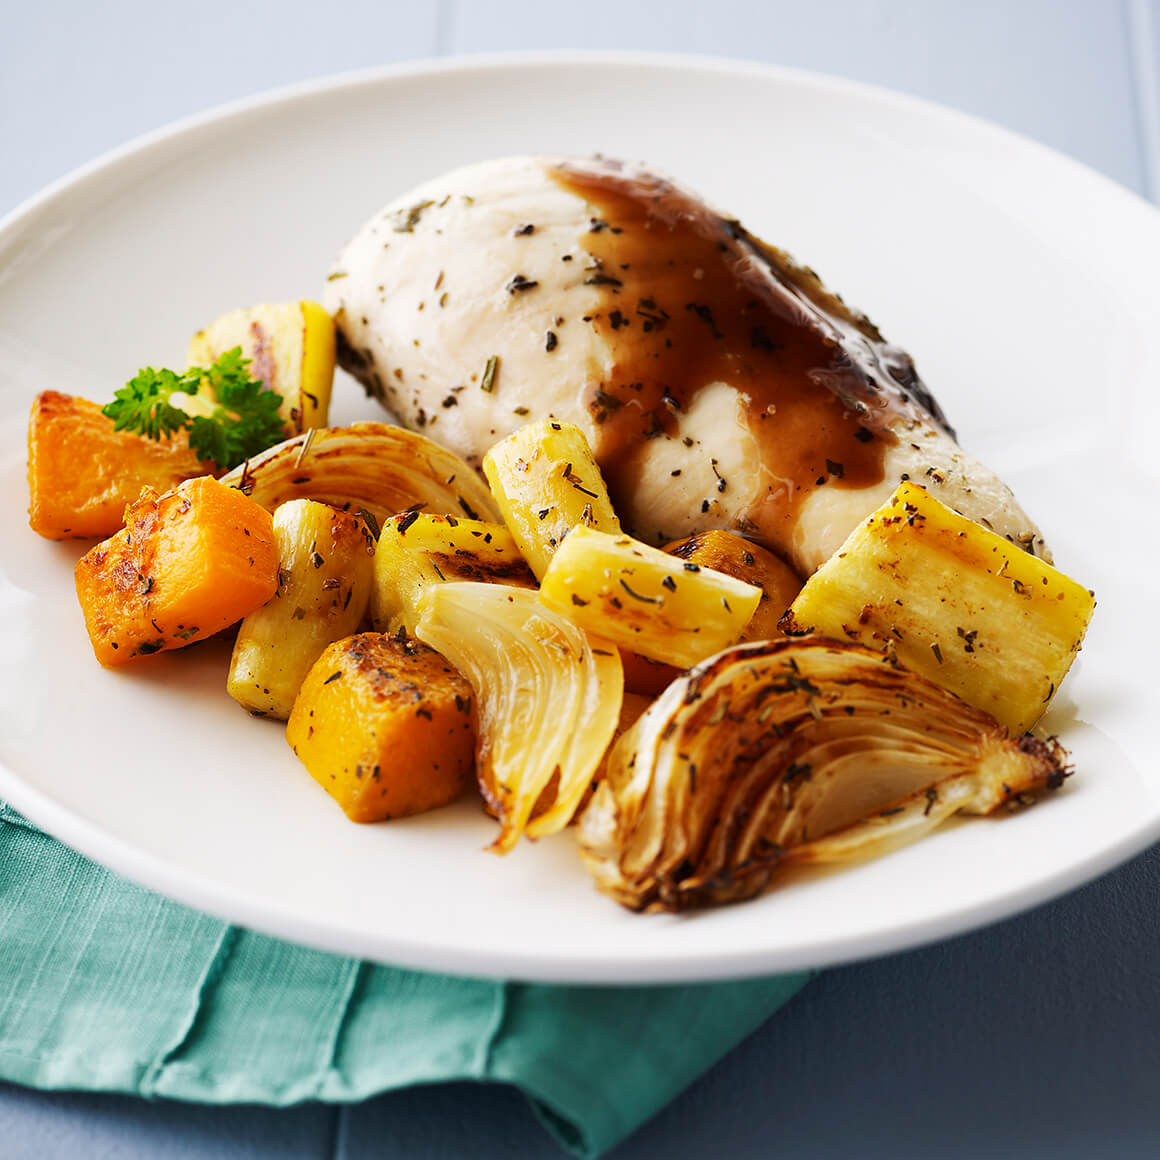
Sundays were made for roast dinners. The whole family is seated at the table, and for one delightful hour everyone is content. While a traditional Sunday dinner has normally been reserved for roast beef, we’d like to make room at the table for the equally delicious roast chicken. Rather than serving the dried out roasts our moms used to make (sorry mom!), our guide will show you several ways you can make the juiciest, most succulent, mouth-wateringly perfect chicken at home.
Prep and Season
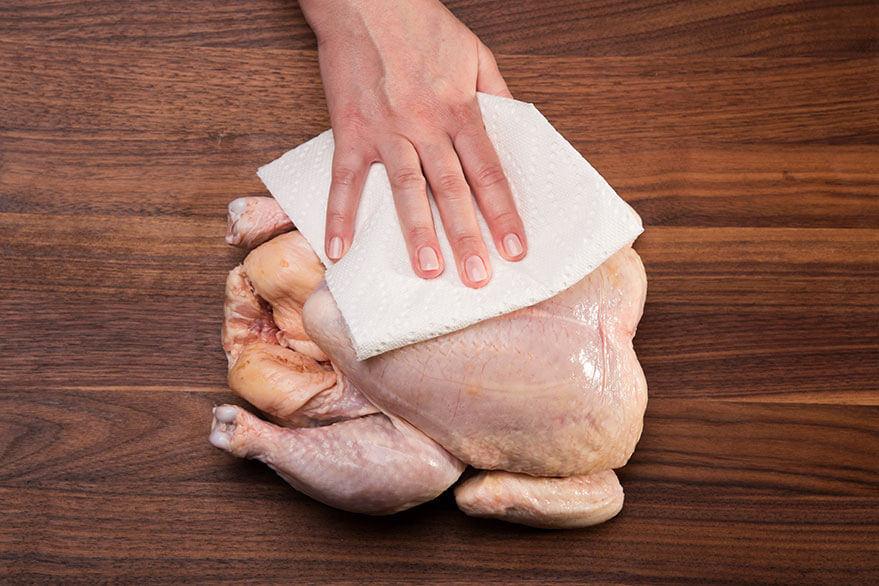
Always let your bird come to room temperature, by leaving it outside of the fridge, covered, for an hour before cooking it. Why? Because your bird will cook unevenly otherwise. Many recipes suggest you rinse your bird before roasting it, but for most store-bought chickens this step isn’t necessary. Just make sure to pat it with paper towels before seasoning it so the skin is dry. This ensures a nice crispy skin.
Once your chicken has reached room temperature you can season it. A tried and true method is to simply season it generously with salt and a little pepper inside and out, rub some olive oil on the skin and roast, but there are a variety of ways to season a chicken after this initial step:
- Use a couple of tablespoons softened butter instead of olive to rub on the skin
- Put a halved lemon and / or a halved onion and / or a halved garlic bulb into cavity to add additional flavour
- Sprinkle fresh or dried herbs on the skin such as thyme, sage or rosemary
- Place a few rashers of bacon on top of the bird
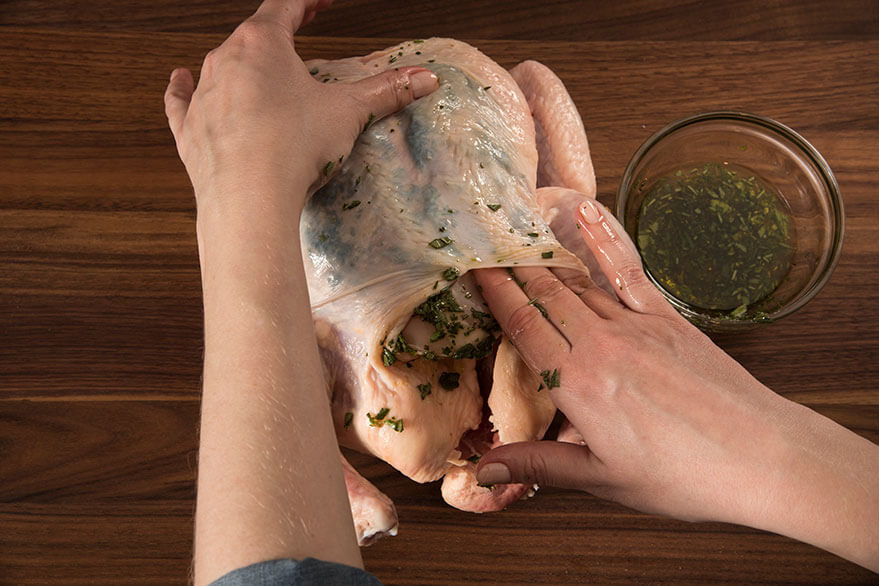
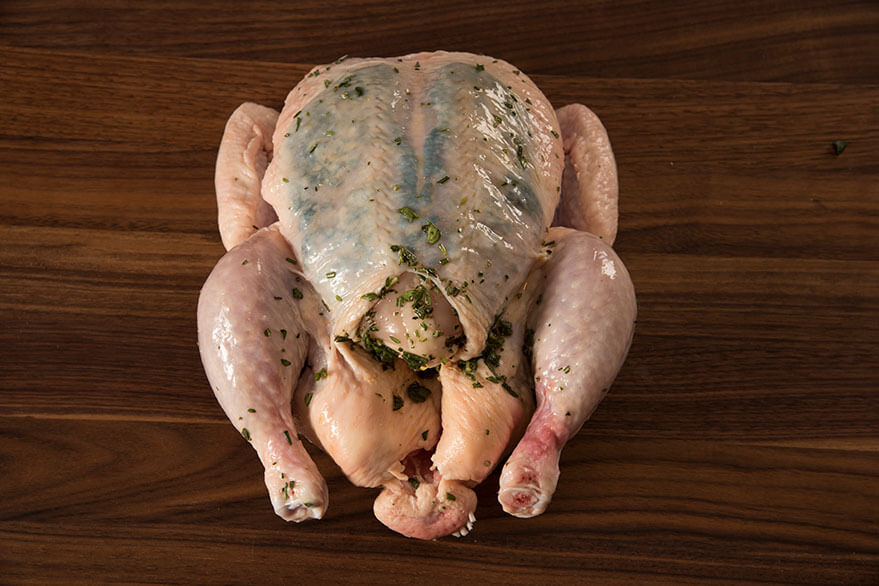
You can also season your chicken by stuffing herbs under the skin. This infuses the meat with herby goodness and still allows for a nice crisp skin. Add a handful of chopped herbs (see above) to a bowl and drizzle with some olive oil. At the top of the opening of the cavity, separate the skin from the breast by gently pulling up and inserting your fingers under the skin to form a “tunnel” on either side. Stuff the herb and oil mixture directly under skin as far down as you can go. When it’s cooked and sliced there will be a nice layer of herbs between the skin and the breast.
Basic Roasting Method
The simplest way to roast a chicken is to just bung it in the oven. Roast at 350ºF for about 1 hour and 30-40 minutes depending on the size, or until the internal temperature reaches 180ºF (visit our Chicken Cooking Times section for more info on how long to cook a chicken). There are also a variety of dishes and pans you can use to roast as well. A traditional roasting pan with a rack is ideal, as it ensures even cooking and allows for the drippings to be collected in the pan for gravy, but you can also use a cast iron skillet, casserole dish, Dutch-oven or any other kind of oven-proof dish that will allow the bird to sit comfortably within it.
Trussing
Trussing might seem a bit fiddly, but a trussed bird will produce an evenly cooked bird. By trussing the bird properly with butcher’s string (also known as kitchen twine), the wings and legs are pressed snugly against the body of the chicken forming a more compact shape, which allows for even cooking. And, hey, it looks pretty when serving. A trussed chicken will generally roast for the same amount of time as a non-trussed chicken when cooked at 350ºF.
How to Truss a Chicken:
1. You’ll need a very long piece of string for trussing, so cut off several arm lengths worth.

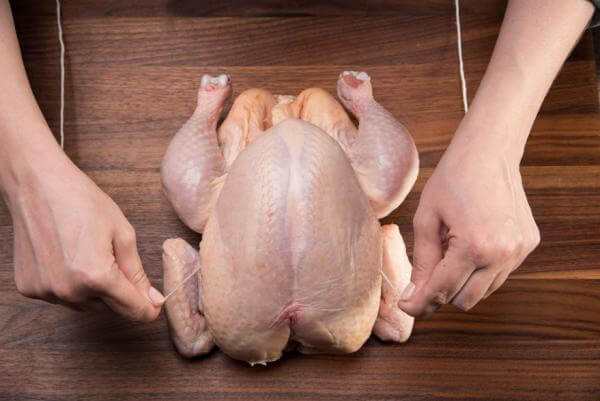
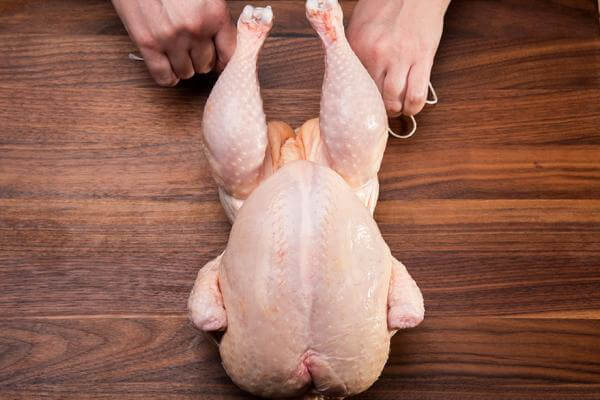
2. Place your chicken on a cutting board or clean surface and with the legs facing towards to you, place the string underneath the front of the bird and secure the string behind each wing.
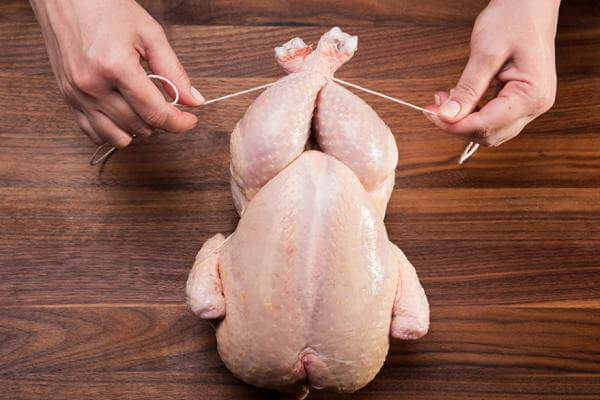
3. Pull the string over and around the wings and pull back towards the legs, crossing the twine underneath the breast (at the opening of the cavity) and pull tight.
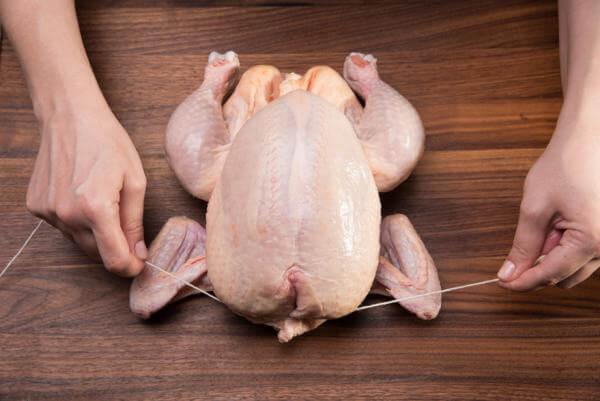
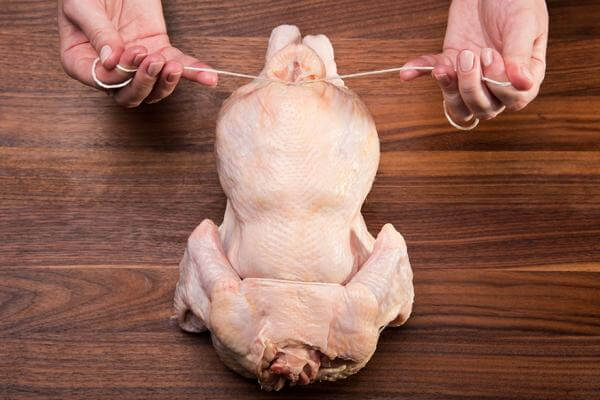
4. Then go over and under the legs, pulling very tightly.
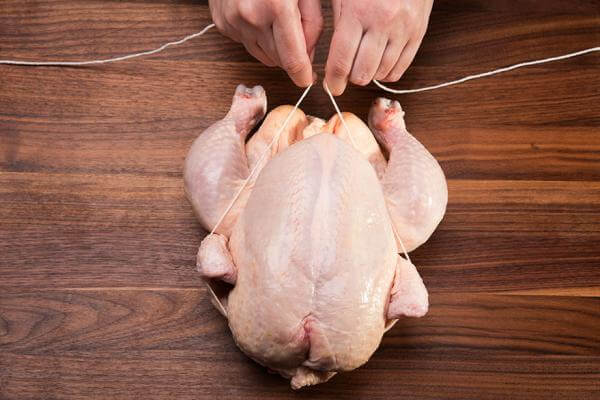
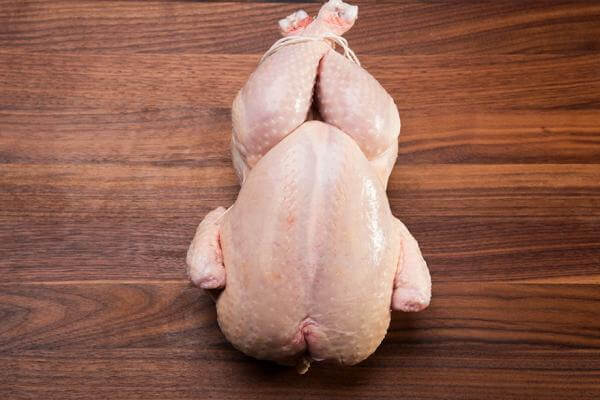
5. Turn the chicken over and tie a very tight knot around the tail so it closes off the opening to the cavity. Trim off any excess string and roast as described above.
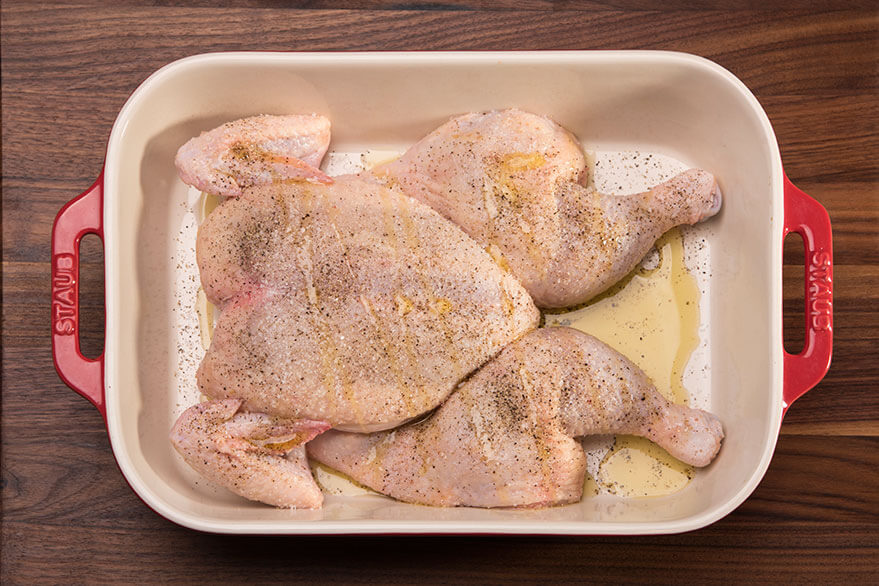
Spatchcocking
While trussing is very effective, spatchcocking (or butterflying) is probably the best way to ensure an evenly cooked bird, since it’s flattened and therefore much more uniform. It requires a little extra effort than just putting the chicken in the oven, but the result will be a juicy, crispy bird. A spatchcocked chicken also requires less time in the oven, which is a bonus. If roasting in a 350ºF oven it only needs about an hour and 15 minutes, or until a thermometer inserted into the thigh reaches 180ºF (a spatchcocked chicken will take less time to cook than a normal chicken, since it’s flattened). Some people find it easier to spatchcock first, and season after, but that’s entirely up to you and often dependent on the recipe.
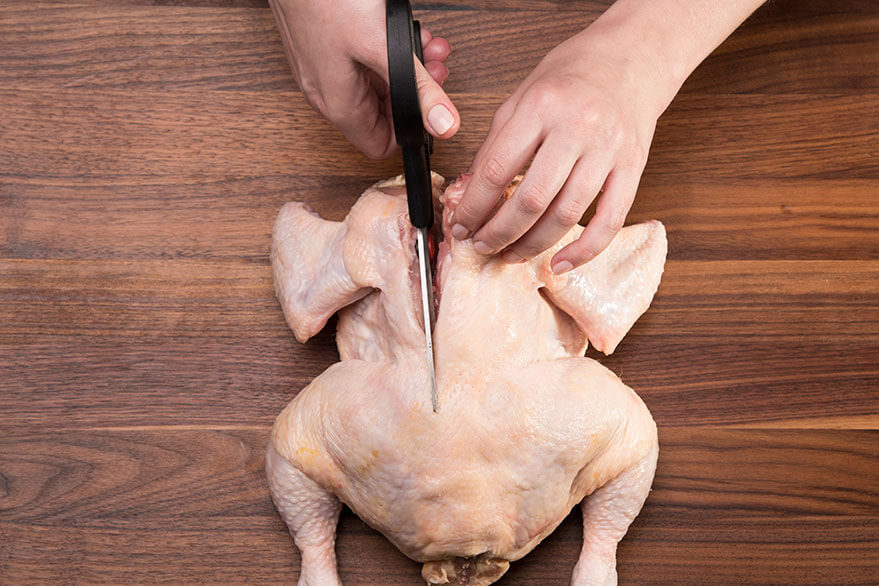
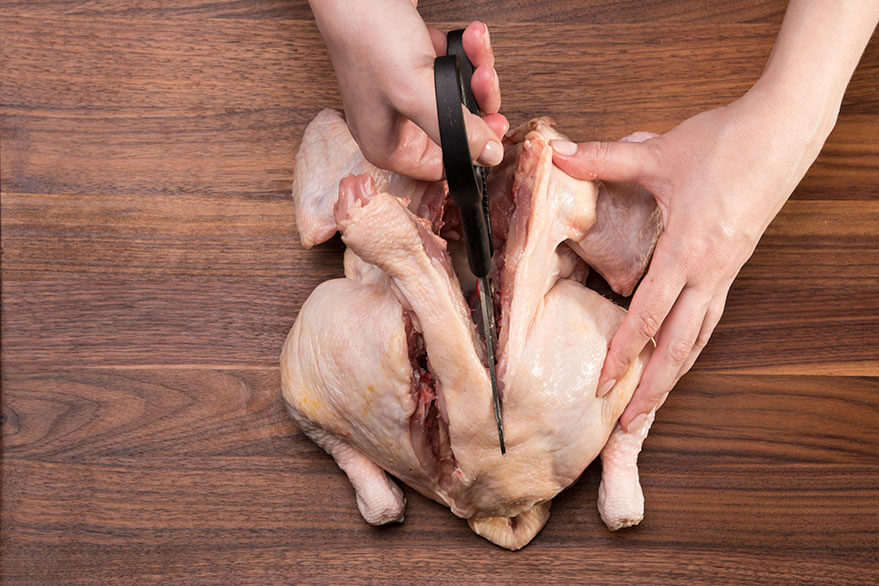
How to Spatchcock:
1. Using poultry shears or a chef’s knife, cut through the back along one side of the backbone. Repeat with other side.
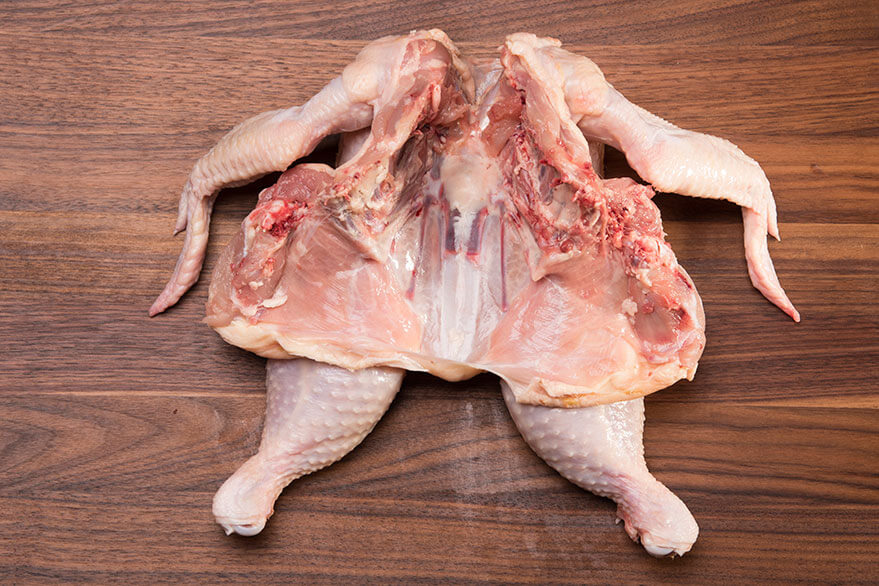
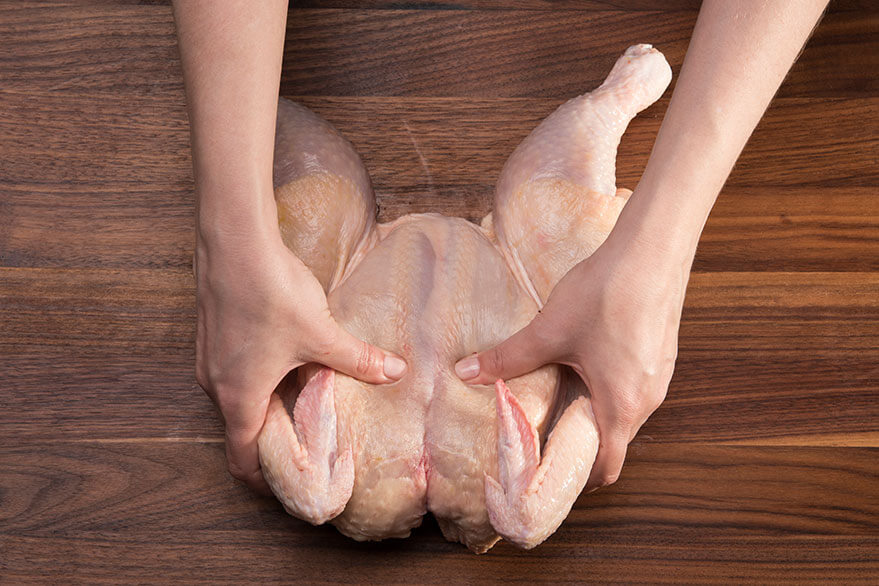
2. Turn the chicken over, open it and press down firmly on the breast bone to flatten. Place in a pan or dish so that the bird is able to lie spread out.
Brining
First let’s talk about why brining is a good idea. Brining will produce, bar none, the juiciest bird by infusing the meat with moisture, usually with a salt solution, aka a brine, which is otherwise lost during the roasting stage. The liquid solution adds moisture, while the salt prevents the meat from drying out as it cooks. Most of us are familiar with the traditional or “wet” brine, but there’s also what’s called a “dry” brine that’s less labour intensive, and frankly the results are far more spectacular. Instead of soaking your chicken in liquid, you essentially shower your chicken in salt. The salt alone allows the chicken to retain its natural moisture without becoming too watered down and produces an unbelievably crispy skin. Both methods require a bit of forethought though, since you’ll have to let the chicken sit for several hours to allow the brine to works its magic. We’ve already shown you a traditional brine so let’s look at how to dry brine.
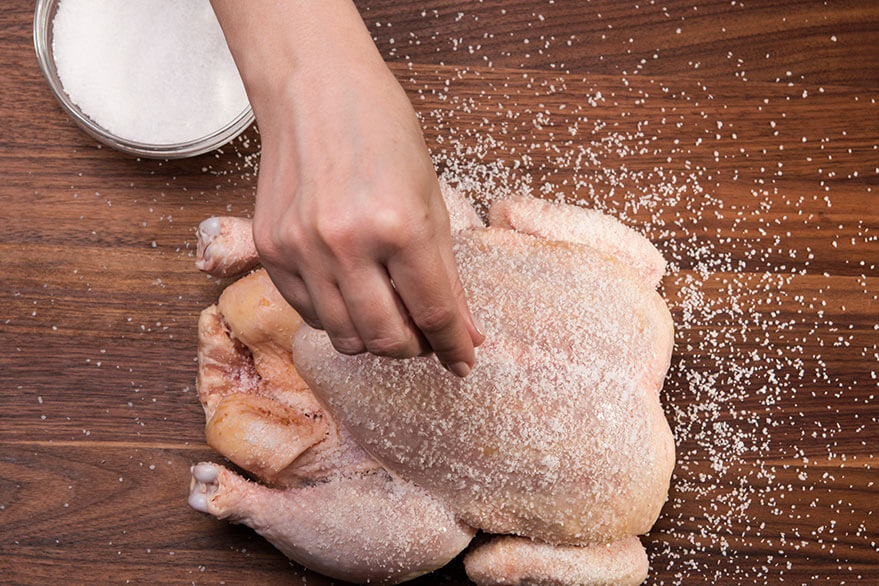
How to Dry Brine:
1. Remove your chicken from the packaging and pat dry with paper towels inside and out.

2. Using about 3 tbsp* of Kosher salt, sprinkle the salt generously over your bird until it’s completely covered. The chicken shouldn’t be crusted in salt, but should have a nice even coating.
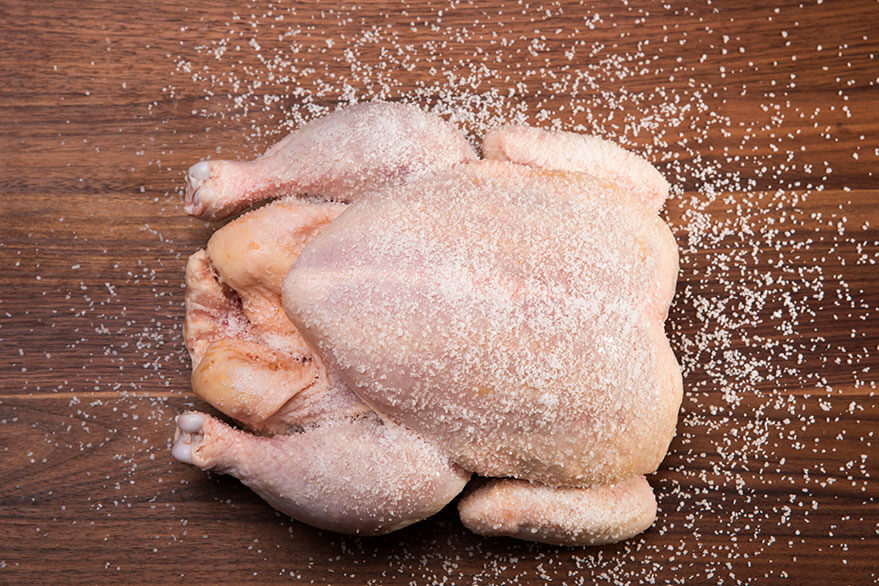
Refrigerate uncovered for at least 12 hours and up to 24 hours and let the chicken come to room temperature before roasting.
*General rule of thumb is one tablespoon of salt per pound of chicken.
To Stuff or Not to Stuff
The simple answer is: Don’t. The long answer is you can absolutely stuff your bird, but here’s why, asides from maybe a lemon or onion, you shouldn’t stuff:
- A stuffed bird takes WAY longer to cook. Because you need to ensure that the stuffing inside the cavity is free from bacteria, such as salmonella, the temperature of the stuffing needs to reach 165ºF, which will happen long after your chicken has reached its desired temperature. The result: A sad, dry bird.
- Despite what people tell you, stuffing a chicken does not dramatically improve the flavour (if at all), no more than stuffing the cavity loosely with a lemon or onion.
- Stuffing cooked in a separate casserole dish will still produce a delicious stuffing, and unlike stuffing from a bird, stuffing roasted separately is allowed to get nice and brown on top.
Chicken Tips
Here are a few tips that will come in very handy when making a whole chicken:
- Save the chicken carcass and make stock for gravies and soups.
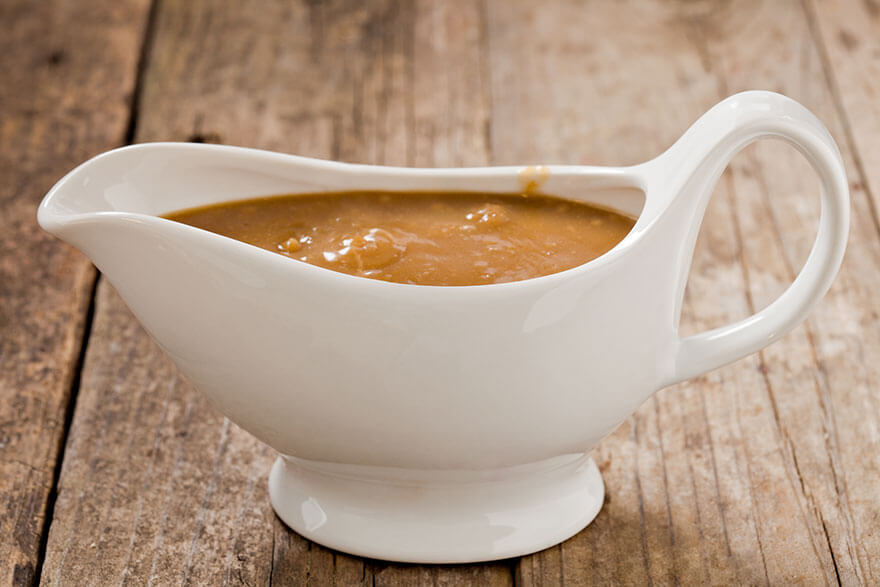
- Use your pan drippings to make a fantastic gravy to serve alongside your chicken.
- Always make sure to cook your chicken to an internal temperature of 180ºF.
- Invest in a good roasting pan.
- If you don’t already have one, get a digital thermometer. It will change your life.
And there you have it. Everything you need to know to make perfect roast chicken at home.